Plastering a concrete surface involves adding lean mortar to enhance the appearance of the surface. Concrete surfaces such as thick concrete, low-weight concrete, and mixed concrete are plastered using various methods.
This article will give you all the information needed about plastering your concrete walls. We will discuss the basic process for plastering on concrete, plastering on different surfaces, and plastering safety standards.
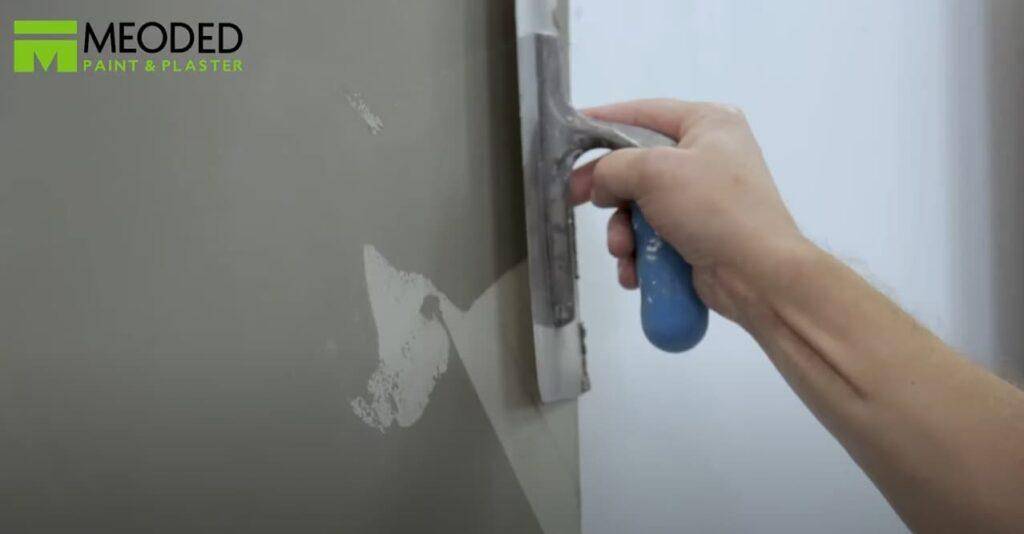
The Procedure for Plastering a Concrete Surface
Here are the general steps you would follow to plaster a concrete surface:
1. Preparation of Concrete Surface
Before plastering, the surface of the concrete to be plastered must be stripped of peeling paint, flaking bits of old plaster, paint, oil, and dust so that the application can bond properly.
2. Treating with Slurry
The concrete wall’s texture must be tough enough to support the plaster. Slurry will need to be applied to the concrete surface to accomplish this. Slurry or dash is made by combining 1 part cement with 1 and 1/2 parts coarse sand with enough water to achieve a runny consistency.
5. Plaster Curing
Curing should begin and continue for seven days after the plaster has hardened and set. After the plastered concrete walls have dried, they can be painted or wallpapered.
Plaster Thickness
Undercoat thickness should not exceed 11mm for walls and 8mm for soffits when used with bonding agents. The final coat should be 2mm thick when placed over the undercoat.
In places where increased thicknesses are likely, the plaster will need to be applied over an expanded metal lath that is mechanically fastened to the concrete.
Dense Concrete Plastering
Plastering does not adhere to the surface of thick concrete due to its low porosity and smoothness. To address this issue, a bonding treatment can be used on dense concrete backgrounds.
Mechanically preparing the concrete surface by scabbling or shot blasting will remove any surface contamination and roughen a smooth surface.
While such treatment may assist in enhancing plaster adhesion, it will not increase surface absorption.
The concrete should not be plastered until it has sufficient time to dry after the shuttering has been removed. Furthermore, plastering should not start if there is free water on the surface of the concrete.
On most new construction sites, however, it is impractical to wait until the concrete has entered an air-dry state, which might take months or even years in the case of particularly thick structures.
The safest method of plastering concrete is to apply the plaster on an expanded metal lath filled and attached to the concrete (This can be expensive, though!)
Plastering No-Fines & Lightweight Concrete
A fully compacted lightweight aggregate concrete has a different thermal movement value than plaster and can present a dusty surface with high suction when hardened. This might cause problems with plastering and bonding treatments.
Using an appropriate roller, brush, or spray, apply the bonding treatment diluted with water according to the absorbency of the backdrop. It must be thoroughly absorbed so that there’s no glossy coating on the surface.
Once it is completely dry, begin plastering. As for No-fines concrete—it’s great for plastering since it contains several large voids and works well as a key for plastering.
Surface Plastering on Mixed Concrete
When plastering is carried across various backgrounds, a piece of expanded metal across the junction will reduce cracking caused by differential movement.
Where there are small widths of one material involved, such as when a concrete column splits brick panels, the column width is best spanned fully by fastening expanded metal over building paper onto the adjoining brickwork to isolate the plaster from differential movement.
Alternatively, when cracks are likely to occur in the plaster along the junction of different materials, using a straight knife to cut through the plaster along the line of the junction will prevent unsightly uneven cracking.
Instead of creating a knife incision, back-to-back beads can be fastened over the junction.
Things to Remember When Plastering Concrete
- Where possible, use concrete mixtures, including flint aggregate, for plastering areas
- Instead of mold oils, use a mild application of a chemical release agent.
- Check the concrete surface for contaminants and take appropriate action.
- Clean dense concrete surfaces of surface dust and use a proprietary bonding solution.
- Apply the plaster with forceful pressure and, after setting, inspect for hollowness when the plaster dries out and when heating the building for the first time.
- Rather than heating the building abruptly, gradually increase the temperature.
Precautions to take when plastering
- Ventilate the workspace. If dust cannot be managed, wear an EN 149 Class FFP1 half-face mask.
- Avoid prolonged or repeated wet contact by using waterproof gloves, protective overalls, and safety footwear.
- To limit the effect of skin contact, apply a barrier cream to the hands.
- If plaster powder or splashes are expected, use safety eyewear.
Ready to get started?
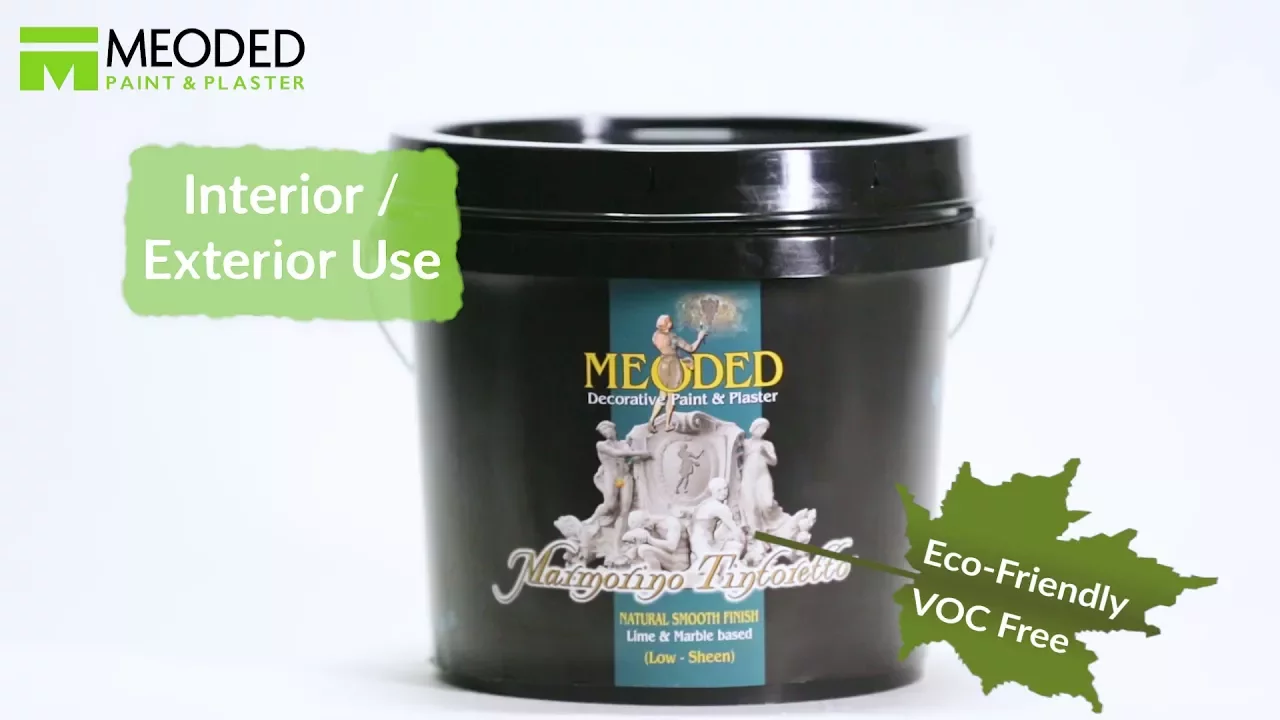
Meoded is an industry leader in Lime-based Venetian plastering, offering our products to both commercial and residential clients.
We only use high-quality materials that are eco-friendly, antibacterial, and volatile organic compound (VOC)-free so that you can relax in your home and savor the beauty of your plastered walls and ceilings every day.
There is no limit to what you can create. We are excited to work with you to make your dreams a reality!
If you want to get a first-hand look at how to use and apply any of our Venetian Plasters, be sure to check out our Instagram page. You can also head over to our Youtube channel for handy how-to tips and tricks.