The Allure of Limewash
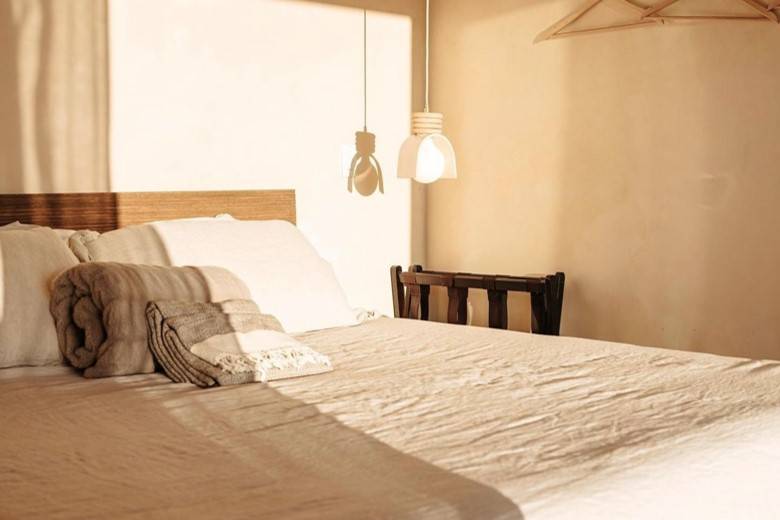
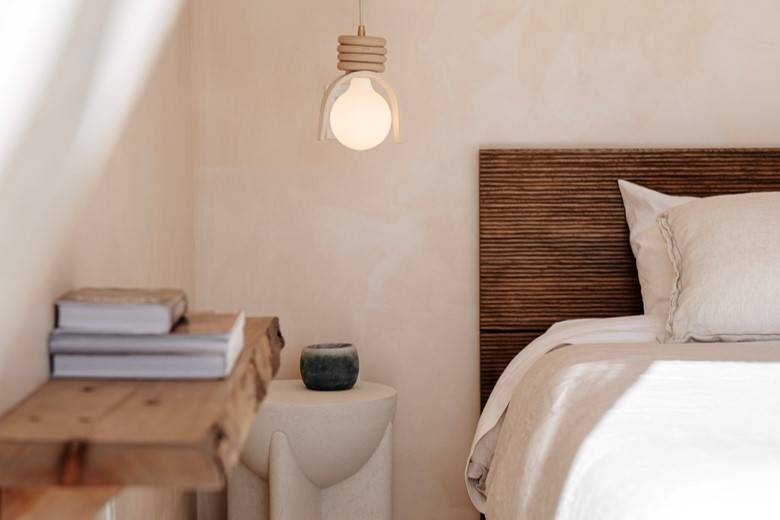
The shift towards embracing natural elements and spaces that breathe has catapulted lime wash back into the style spotlight.
This ancient finish, with its roots stretching through the ages, delivers a distinct charm that complements well with cutting-edge and classic decors. However, the appeal of limewash extends far beyond its outward appearance.
It stands out as an excellent material for DIY enthusiasts eager for an attractive, air-permeable substitute to conventional paints, with just a bit of direction. Furthermore, lime wash comes with many advantages, such as its inherent ability to allow walls to breathe, mold & mildew resistance, and its capacity to resist fire.
Looking into Limewash
Lime wash is available in several formats, including ready-made limestone mixes that provide ease and simplicity for modern users.
The real wonder of limewash unfolds during its curing process, known as carbonation. This is when lime wash meets air, undergoing a reaction with carbon dioxide to revert to calcium carbonate. This process not only grants limewash its celebrated matte look with elegant color variation but also equips it with its renowned features of breathability, heat, mold, & mildew resistance.
Before You Begin with Lime Paint: Planning and Preparation
Applying lime wash for the perfect look demands careful and detailed preparation.
1. For Interior Design Pros:
It’s vital to maintain open and transparent dialogue with your clientele. Engage in discussions about their visual preferences, financial plans, and project schedules.
2. For DIY Enthusiasts:
Make your way to Meoded Paint and Plaster for a one-stop shop experience!
We’re stocked with all essentials, including soft-bristle box brushes, a mineral paint lime wash primer, protective clothes to safeguard your flooring and furniture, matte water-repellent sealers, and a diverse selection of limewash paints. Plus, our approachable team is on standby to offer tailored advice on selecting the ideal tools, materials, and colors for your unique venture.
Wall Preparation Steps
Time to get those walls ready! No matter if your project is indoors or outdoors, preparing the surface meticulously is non-negotiable.
Start with a thorough wall cleanse to eliminate any grime, dust, or loose flaking particles. Smooth out the surface by repairing cracks or blemishes to create an even base. Crucially, tackle any dampness problems upfront, as lime wash needs a moisture-free surface for optimal adherence.
Recommended to apply one to two layers of LimeWash Base Coat beforehand. Lime Wash being a “wash” needs an absorbing substrate underneath to absorb the limewash properly creating an elegant cloudy finish with darker and lighter color variations.
Selecting Your Hue
Now comes the exciting segment – picking out your hue!
Lime wash is celebrated for its rich palette of natural shades, ranging from gentle whites and serene beiges to deep ochres and bold grays.
We offer an extensive pallet of 80 colors to cater to every preference. It’s wise to test your selected shade on a hidden section to ensure it’s exactly what you envision before you commit to transforming the whole area.
How to Apply Limewash: A Step-by-Step Guide
For Interior Design Experts:

It’s imperative to master the application technique to ensure a smooth, visually pleasing lime wash effect.
Lead your clients through the process, stressing the necessity of applying thin layers and the importance of waiting for each to dry completely before adding the next.
For the DIY Aficionados:
Let’s dive into the nitty-gritty of the limewash application!
- Primer: Roll on one to two layers of lime wash Base Coat to provide an even level of absorption throughout the surface.
- Mixing: Our lime wash comes in a pre-mixed liquid form. No mixing or adding of additives is necessary within the application.
- Application: The key to a successful finish is in the limewash technique of application. Use a soft-bristled box brush to apply thin, even layers using an X-Hatch pattern throughout the surface. Strive for a subtle, semi-transparent look, letting each layer thoroughly dry before proceeding to the next. Keeping a “wet edge” is crucial to prevent noticeable overlaps.
- Drying Time: Patience truly is a virtue here. The drying period between layers can vary, usually stretching for several hours, influenced by the surrounding humidity and air movement.
- Troubleshooting: While applying lime wash is generally straightforward, occasional slip-ups are normal. If you encounter any streaking or dripping, lightly dab it with a moist cloth while the paint is fresh. If you notice uneven coverage, applying more thin layers can usually fix the issue.
Solving Typical Limewash Dilemmas
Even though lime wash is quite accommodating, you might stumble upon a few hitches. Here’s how to tackle the most common snags:
- Uneven Coverage: Should your limewash application appear uneven, perhaps due to heavy or patchy application, there’s a straightforward fix. Allow the initial layer to dry entirely, then proceed with more thin applications to achieve a uniform finish.
- Blooming: Notice white, chalky spots surfacing? This is blooming, caused by surplus salts making their way to the lime wash’s surface. There’s no need for alarm. A gentle sweep with a soft brush can clear away the powdery residue, leaving your walls spotless.
- Soap Scum Buildup (For Interior Walls): Areas prone to moisture, like bathrooms, may see soap scum accumulation. Preventing this involves applying a breathable sealant once the limewash is fully set, such as Stain Shield sealer. If soap scum has already formed, warm water and a rag should clean it up.
Armed with solutions for these typical problems, you’re set to perform the lime wash application process for results that are not only successful but stunningly beautiful.
Using Limewash Paint Indoors and Outdoors
The core steps for applying this material might be consistent, but using limewash for exteriors requires a bit more foresight than using lime wash for interiors.
Exterior-specific limewash is crafted to endure the rigors of the elements. Before outdoor application, it’s wise to consult the weather forecast since rain or high humidity levels can interfere with the drying and curing phases.
The optimal conditions for outdoor lime wash application are during mild, dry weather.
Upkeep and Care
Maintaining limewashed surfaces is straightforward.
Given that lime wash naturally hardens over time, it’s important to shield freshly applied areas from too much moisture early on. Over time, limewash matures into a rich patina that enhances the visual appeal and atmosphere of your surroundings.
Despite its resilience, lime wash benefits from the occasional gentle cleaning using a soft cloth to maintain its pristine condition.
Exploring Creative Limewash Techniques

Lime wash extends a canvas for creativity, allowing for more than just a uniform color finish. Embark on these inspired methods to elevate your limewash project:
- Washes: For a dreamy, delicate ambiance, consider applying limewash in diluted forms. This technique produces a translucent effect, softly revealing the texture beneath for a subtle, nuanced look.
- Layering Colors: Introduce depth and texture by overlaying different shades of limewash. This approach can add dimension and intrigue to your walls, creating a bespoke finish that’s rich in character. Begin with a darker basecoat, and lighter topcoats.
- Stencils: Personalize your space with the use of stencils. Applying limewash through stencils onto your walls can instill a distinct, decorative flair, whether it’s a bold motif or a subtle pattern.
Taking the Next Steps with Your Limewash Project
Are you geared up to start your limewash venture with assurance?
Swing by Meoded Paint & Plaster for a comprehensive array of limewash supplies. We feature an extensive collection of pre-mixed limewash, a limewash primer, limewash sealer, box brushes, and other essential tools, to support you at every phase of your journey.
Elevate your environment with the enduring elegance and authentic appeal of limewash.
