The Venetian plaster wall finish technique is regarded as one of the most sumptuous and beautiful interior applications.
As the name implies, this method originated in ancient Rome, when the skill of plastering reached new heights with the advent of multi-layered plastering.
Through two millennia, this procedure remained largely unaltered. During the Italian Renaissance, this method was rediscovered and given the term “Marmorino,” which is still used today.
The technique has witnessed a revival in recent times, becoming a significant focus of modern architects and interior designers who employ the finish to create a distinct feel to both residences and commercial buildings.
Essentially, “Venetian Plastering” is a contemporary name for an old technique for putting a stuccoed surface covering to walls. Venetian plaster is made of limestone mixed with marble dust and other minerals and can be applied to walls and ceilings in thin, repetitive layers using a spatula or trowel before being polished to produce a sense of depth and texture.
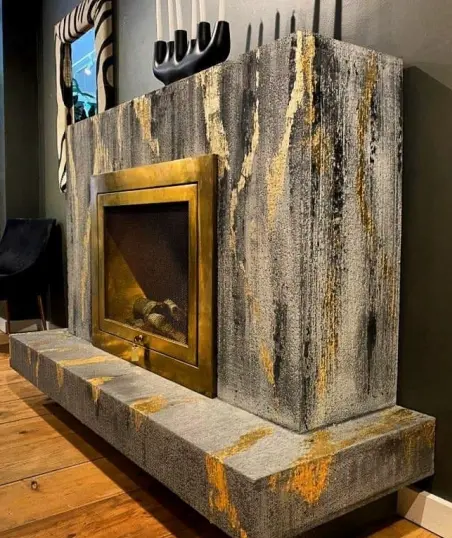
Venetian Plaster, when applied correctly, can produce a rock-hard, highly polished, marble-like finish. The material is incredibly useful on surfaces where marble panels would be difficult to install and on areas that would be too expensive to have carved from genuine marble, such as columns, corbels, and curving walls. Natural or synthetic colorants can be used to tint or color Venetian plaster.
To achieve extra sheen and better washability, you can apply a layer of HydroWax.
How To Apply A Venetian Plaster Wall Finish
What you’ll need:
Equipment / Tools
- Stainless Steel trowel or 4- to 6-inch spatula
- Work gloves
- Eye protection
- Paintbrush
- Roller
- Paint tray
Materials
- Quartz Primer
- Venetian Plaster
- Stainless Steel Trowel or Spatula
- Tape
- HydroWax
- Universal colorants
- Floor Cover
Step 1: Gain confidence with a bit of experimentation
Having experience painting the walls of rooms will not automatically mean that you will be competent with Venetian Plaster! It is therefore in your best interest to practice working with this new material to gain the necessary confidence. Start experimenting by applying plaster with a trowel onto a few sheets of drywall or wood.
Experiment with different angles, strokes, and varying levels of texture on the surface. If you’re making your own tint for the plaster, experiment with different amounts of colorants in tiny batches, keeping notes as you go, until you discover the perfect combination.
Step 2: Prepare the room
Although Venetian plaster may be applied to most walls and ceilings, the surface must be smooth and level. Before starting, you will need to cover the floor with a drop cloth or paper. It is crucial that any holes or cracks are filled before proceeding.
Remove any oil or dirt from the wall. Before applying Venetian Plaster, the surfaces should be primed with a Quartz Primer, a primer that has grit to it so that the plaster can adhere properly.
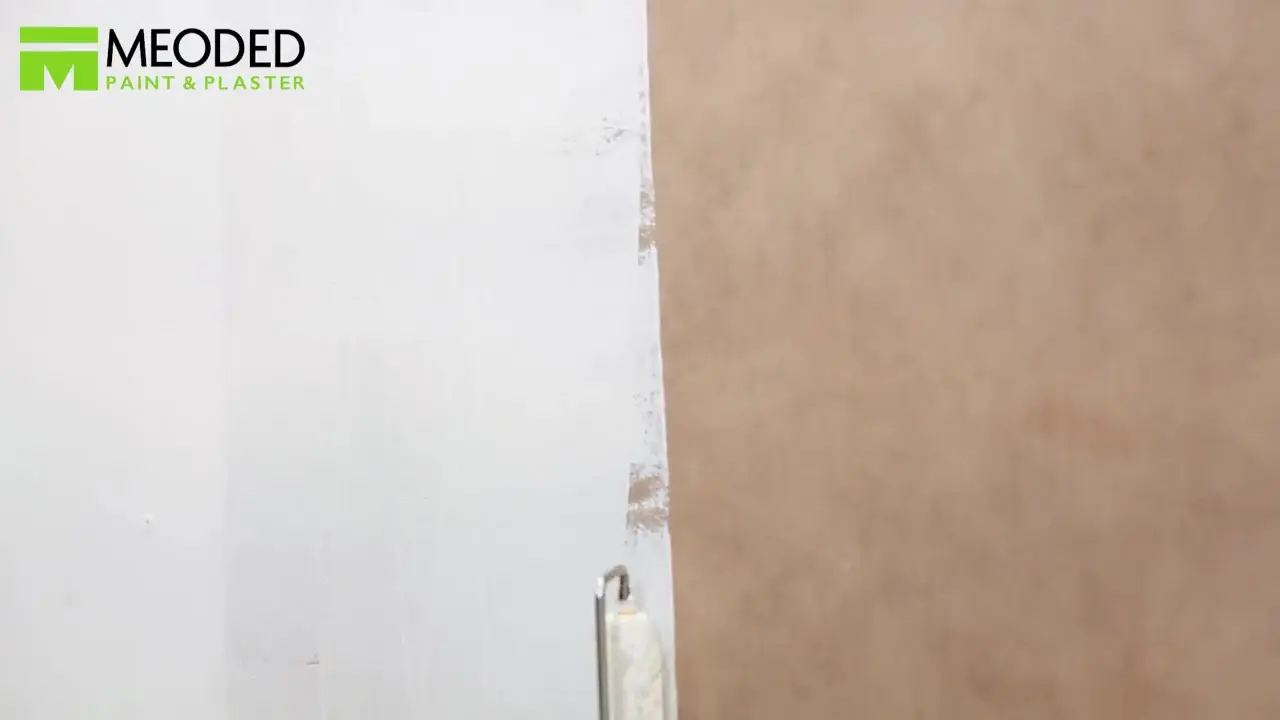
Step 3: Apply the first coat
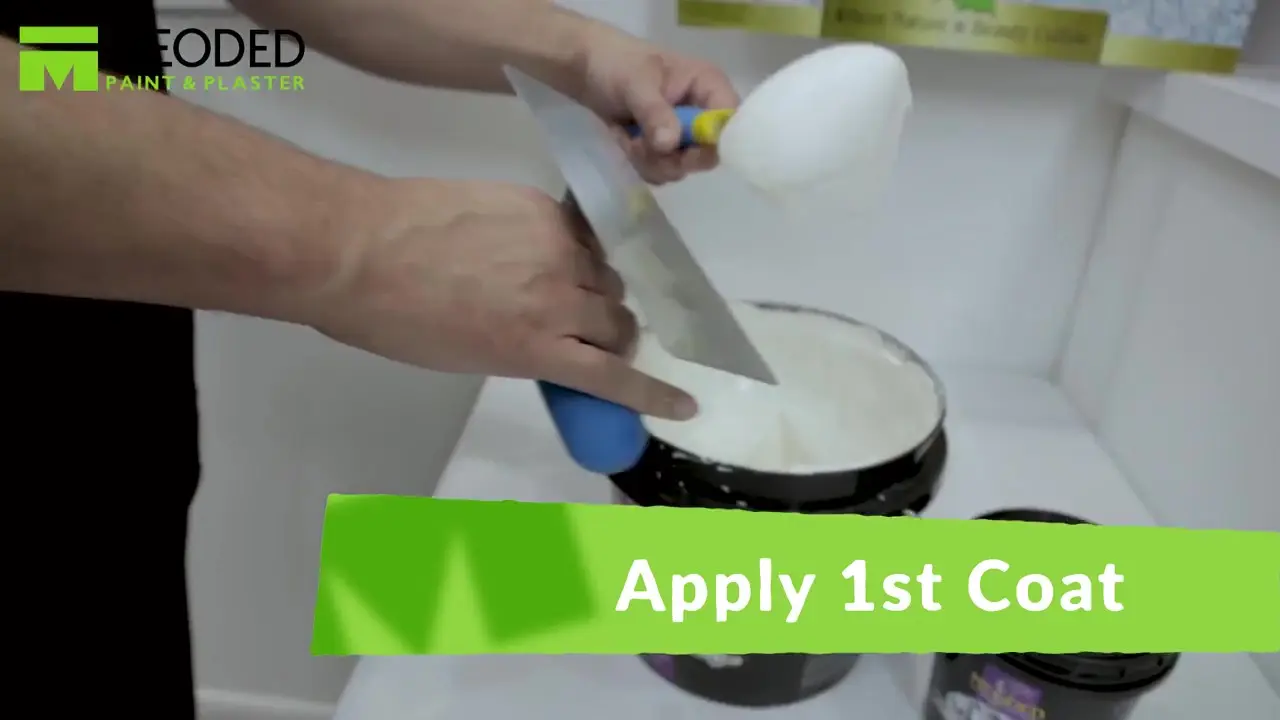
Apply the plaster to the surface with a flexible steel trowel or a 4- to 6-inch-wide spatula, beginning in a corner of the room. Then, apply a thin coat of plaster to the wall while holding the trowel at a 15- to a 30-degree angle.
Spread the plaster with a variety of length and angle strokes. To avoid dried plaster from seeping into your finish, clean the trowel on a regular basis. Any imperfection from the first coat can be telegraphed to the finishing coat. Apply evenly throughout the whole surface. Let dry for 24 hours.
Step 4: Apply the second coat
For the second coat, use the same color of Venetian Plaster as the first. Apply another thin coat of plaster while holding the trowel or spatula at a 60 to 90-degree angle. Long and brief overlapping strokes can be used. Cover the whole surface, filling gaps and eliminating high areas. Allow the plaster to air for at least 24 hours before proceeding with the finishing process.
Step 5: Burnish the finish
Burnishing the surface and perhaps applying a finish are the final steps in a Venetian Plaster project. Apply a small amount of material to the wall, but compress it in. Use the trowel at a 45-degree angle to press in motion across the plaster. This process polishes the plaster and makes it shiny.
Pace yourself when burnishing the wall to ensure the sheen is even across the surface. Let the plaster dry for a minimum of 24 hours before applying a topcoat.
Step 6: Apply a top coat (Optional)
As the last step, you can apply a top coat to increase the surface’s durability and washability. This is recommended in high-moisture and high-traffic areas. Should you decide to use a topcoat, be sure it is specifically indicated for the brand of plaster you used. Take into account that the topcoat may slightly darken the hue.
When the surface is dry, burnish it with the flat side of a clean trowel or putty knife once more. Use paste wax to provide an awesome sheen and added protection to the surface. With a trowel, apply a thin coat of wax and then burnish the surface by rubbing it with the side of the trowel at an angle. You can also buff the wax with a car buffer or a clean soft rag.
Types of Venetian Plaster
The majority of modern Venetian or “Venetian-like” plasters are proprietary mixes or coatings. Marmorino, Grasello, and Calce are Venetian plaster types. Venetian plaster comes in three different material variants, each with its own set of features and price ranges.
NATURAL LIME-BASED
Historically, Venetian plaster was made with lime slaking, pigments, and natural materials. This labor-intensive plaster has a two-to-three-coat application procedure, is exceptionally resistant, and may be utilized for both exterior and interior applications.
ACRYLIC-BASED
Acrylics designed for exterior application are applied by a plasterer to a sufficiently densified brown coat or an acrylic-modified skim coat. Finishers frequently apply this compound to a level 5 gypsum wallboard finish for interior applications.
GYPSUM-BASED
Often the least expensive option, gypsum Venetian plaster performs and installs similarly to gypsum wallboard compound. These products are often the least labor-intensive and are not as durable as traditional lime plasters.
Where Can You Use Venetian Plastering in Your Home?
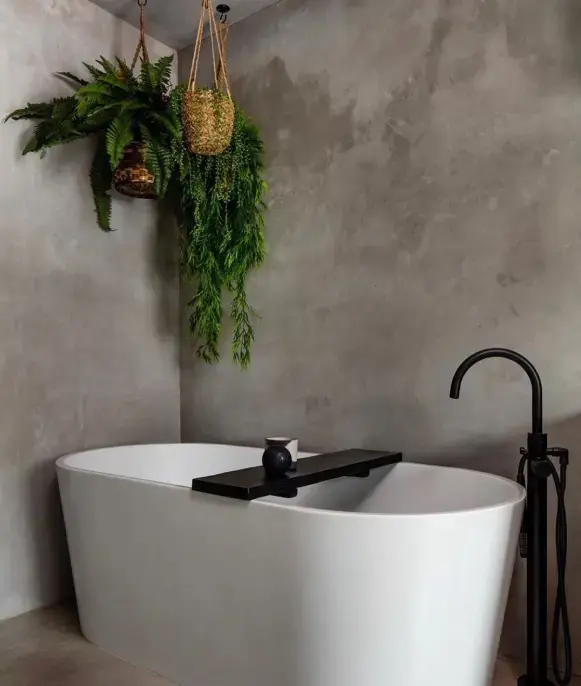
Venetian plaster may be utilized in a variety of ways to add a touch of elegance to a property. For instance, the living room is often a fantastic place to begin. The bedrooms, kitchen, bathrooms, and hallways are also brought to life with Venetian plaster.
Benefits of Venetian Plastered Walls
Using lime-based Venetian plaster instead of alternative finishes offers a number of advantages, not to mention the classy and beautiful aesthetic it lends to surfaces.
Other benefits include:
1. Regulation of humidity
By enabling moisture to pass through while also cooling surfaces, making space less hot and humid.
2. Mold & Mildew Resistant
This is due to the lime used in its production.
3. Odorless since it is created from natural materials.
This also renders the plaster non-toxic and environmentally friendly.
4. Low Maintenance.
Venetian plaster does not require much maintenance; simply wipe it clean and it will look as good as new.
5. Durable and Long-lasting
6. Toxic Free and Eco-Friendly
Meoded’s Venetian Plaster creates a long-lasting appeal
Are you looking for something that will last a long period while still contributing to the overall charm of your home?
Meoded has a wide selection of decorative plasters that will leave your walls with a flawless finish. Our Lime Plasters are simple to use, eco-friendly, lime-based liquid plasters with zero VOCs.
Lime Plasters come in four varieties: Stucco Lamundo, Tonachino Firenze, Marmorino Tintoretto, and Marmorino Palladino.
Stucco Lamundo Gloss Finish
Stucco Lamundo is an interior Venetian plaster that is simple to apply and long-lasting. Stucco Lamundo’s natural combination of marble dust and limestone lends it a distinctive glossy appearance. On interior surfaces, the tintable paste creates a polished, marble-like texture and provides a delicate glow when natural light reflects on its surface.
Marmorino Tintoretto Textures
Marmorino Tintoretto is a Venetian Plaster with a flat to low sheen finish appropriate for both interior and outdoor uses. It’s a perfect combination of fine limestone and crushed marble that offers your walls a mottled appearance. The Tintoretto can produce a variety of textures, including a low sheen smooth finish, a fine skip trowel effect, and glazed effects.
Marmorino Palladino Bold Textures
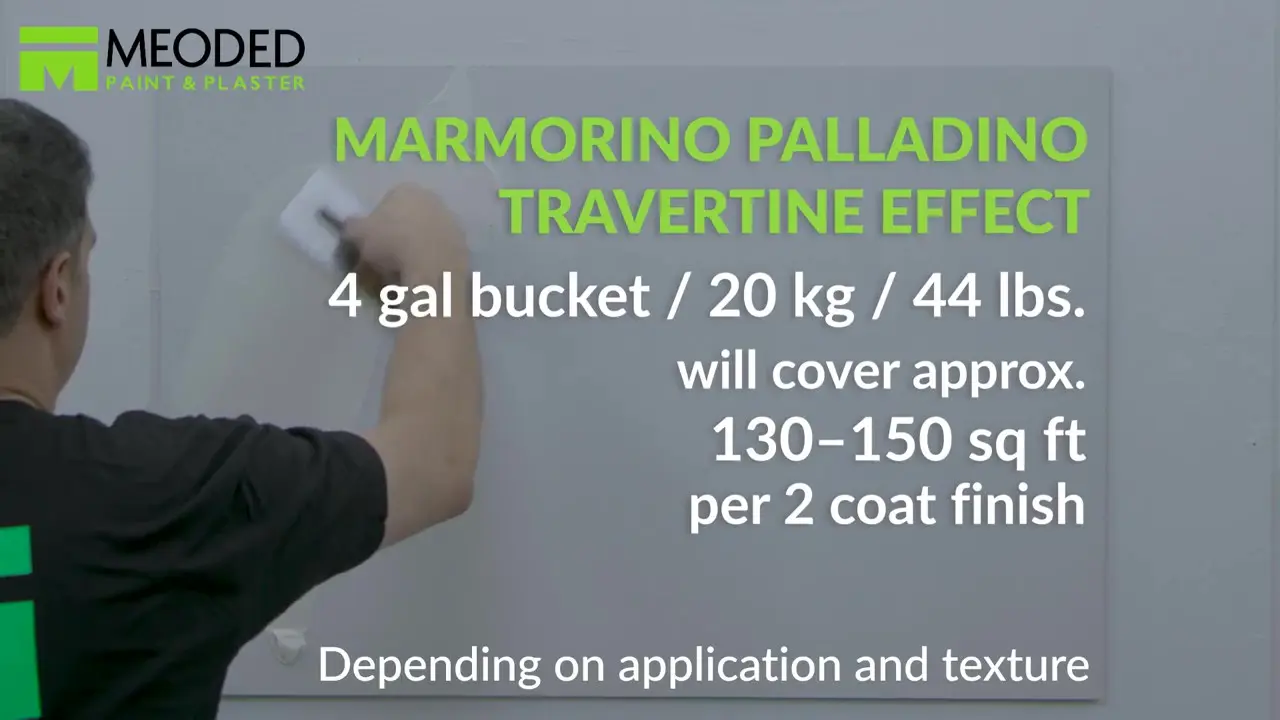
Marmorino Palladino has a large marble grain and is ideal for producing elegant, smooth stone surfaces as well as other creative textures. Palladino’s large aggregate enables the development of a variety of strong textures, including the travertine effect, skip trowel, crocodile texture, petrified finish, and many more.
Tonachino Firenze Wall Finishes
Tonachino Firenze, a lime plaster, creates a Mediterranean sand finish to any interior or external wall area. Tonachino Firenze is a perfect blend of marble dust, river sands, and slaked lime that has been formulated to provide a sandy, porous texture.
If you require any further information or assistance, feel free to chat with one of our experts. We will be more than happy to answer any of your questions.
Create opulence with a Venetian Plaster Wall Finish
Venetian Plaster is sometimes referred to as a false version of marble, but in reality, the plaster is made out of natural elements that, when mixed, provide this stunning look.
It is available in a range of sheens, textures, and colors, but it may also be stained or colored to give an effect that cannot be achieved naturally.
When properly applied, the completed result is as dramatic and visually attractive as marble itself, and the finish will enrich the color of the plaster, adding warmth to the walls. Venetian plaster creates an impression of natural texture and design, making them look even more opulent and sophisticated. Its versatility yields a wide range of options for decorating surfaces.
If you want to get a first-hand look at how to use and apply any of our Venetian Plaster, be sure to check out our Instagram page. You can also head over to our Youtube channel for handy how-to tips and tricks.

